
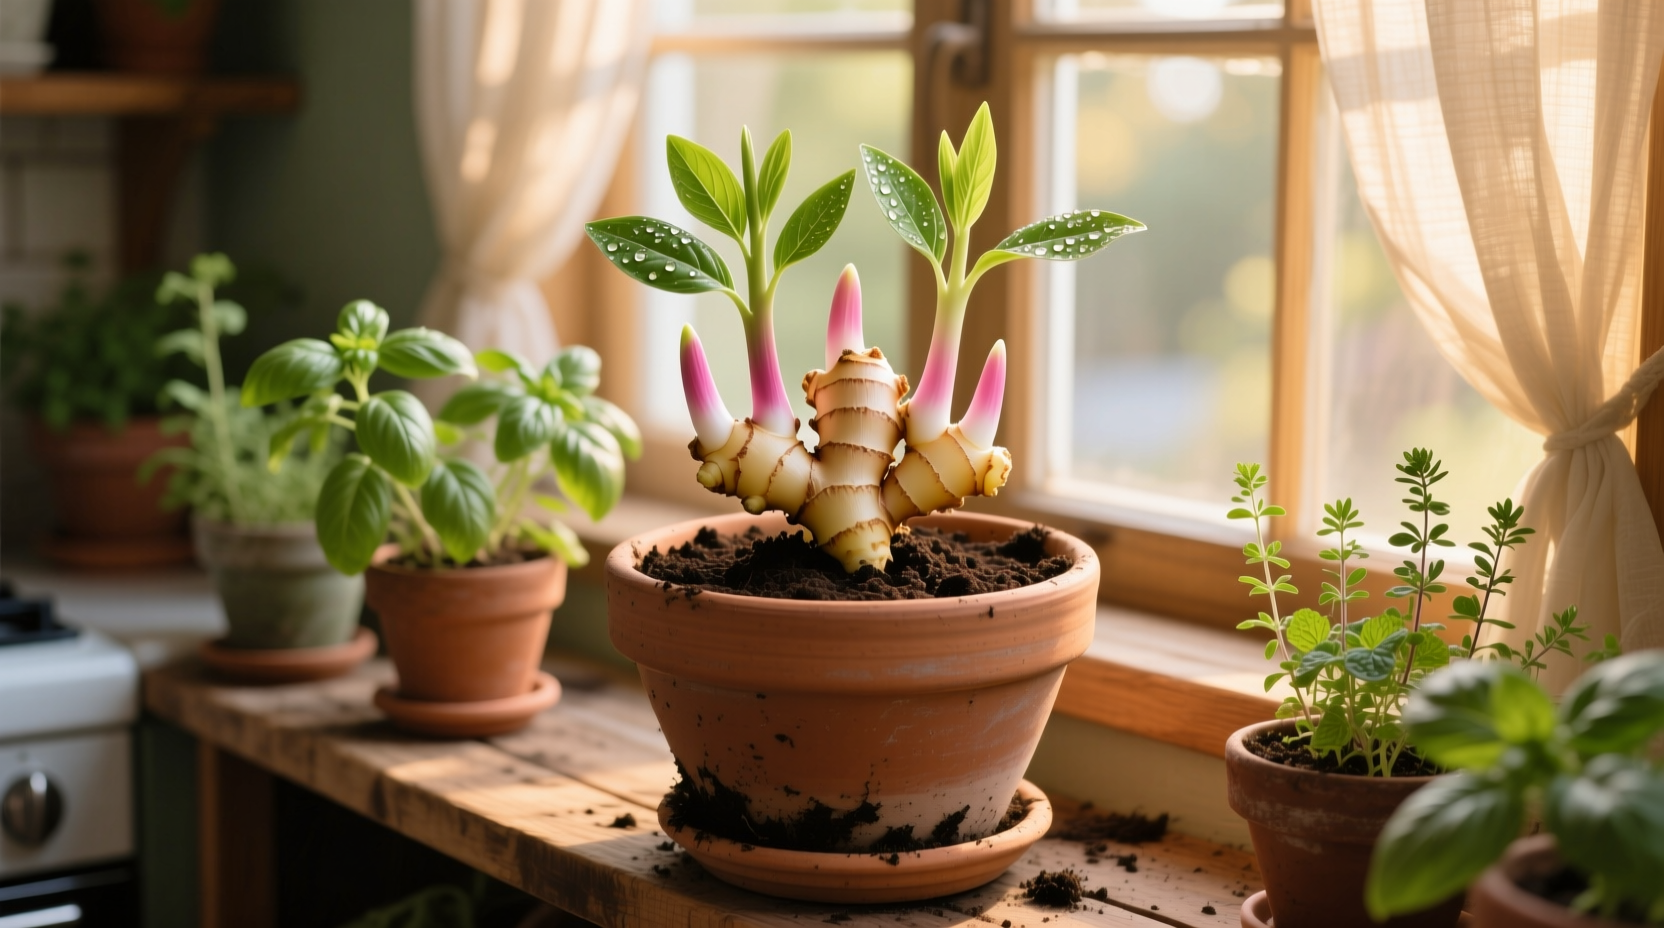
Why Growing Ginger Indoors Is Both Practical and Powerful
Ginger (Zingiber officinale) isn’t just a pantry staple—it’s a living medicinal and culinary resource. When grown indoors, it offers distinct advantages over store-bought alternatives: superior flavor (no chemical residue, no forced dormancy, no long-haul transport), full control over soil health and inputs, and the ability to harvest “baby ginger” (peelable, mild, juicy) at any time. Unlike many herbs or vegetables, ginger doesn’t require pollination or fruit set. Its edible portion—the rhizome—is a modified underground stem that stores energy and multiplies vegetatively. This makes it uniquely suited to container culture: no need for large plots, no dependence on seasonal windows, and no risk of invasive spread (unlike mint or lemon balm).
Yet misconceptions persist. Many assume ginger must be grown outdoors in subtropical climates—or worse, that it’s “impossible” indoors. Others try planting non-organic grocery ginger treated with growth inhibitors (like methyl bromide or chlorpropham), only to see zero sprouting after weeks. Still others drown the rhizome in heavy potting mix, mistaking “moist” for “wet,” and trigger rot before the first leaf emerges. These are avoidable failures—not inherent limitations.
Indoor ginger cultivation is grounded in botany, not magic. Rhizomes are perennial storage organs adapted to survive dry seasons by going dormant—not dying. In your home, you’re not defying nature; you’re extending its natural cycle with intention. With baseline conditions met, ginger reliably produces new shoots, expands its rhizome mass, and responds to gentle harvesting without compromising future growth.
Selecting the Right Ginger Root: Organic, Fresh, and Vigorous
Your success begins not with soil or light—but with the rhizome itself. Not all ginger is equal. Here’s what to look for—and what to reject:
- Must be certified organic: Conventional ginger sold in U.S. supermarkets is routinely treated with sprout inhibitors to extend shelf life. These chemicals suppress meristematic tissue (the growth points), often permanently. Organic ginger has no such barrier—and consistently sprouts within 2–4 weeks under proper conditions.
- Firm, plump, and smooth skin: Avoid shriveled, wrinkled, or mold-flecked pieces. Slight surface dryness is acceptable, but deep crevices or soft spots indicate internal decay. Gently squeeze: it should feel solid, not spongy or hollow.
- Visible, plump “eyes” (buds): Look for knobby protrusions—especially those with faint greenish or yellowish tinges. These are dormant growing points. A single eye can produce one shoot; multiple eyes increase yield potential and redundancy. Avoid rhizomes with only flat, scarred surfaces.
- Size matters—but not in the way you think: A 2- to 3-inch piece (roughly the size of your thumb) with 1–2 healthy eyes is ideal. Larger pieces aren’t more productive—they’re harder to keep evenly moist and more prone to rot if buried too deeply.
Where to source: Local organic co-ops, Asian markets labeled “organic,” or reputable online seed suppliers (e.g., Baker Creek Heirloom Seeds, Kitazawa Seed Co.) offer untreated rhizomes specifically selected for propagation. Never use ginger from bulk bins unless verified organic—cross-contamination with treated stock is common.
Preparing and Pre-Sprouting Your Ginger Rhizome
Pre-sprouting (also called “chitting”) significantly boosts germination rates and shortens time to first leaves. It’s simple, low-risk, and takes just 1–3 weeks.
Step-by-step pre-sprouting:
- Cut your ginger into 1–2 inch segments, ensuring each has at least one visible eye. Use a clean, sharp knife—no tearing.
- Let cut surfaces air-dry for 2–4 hours on a paper towel. This forms a protective callus layer, reducing rot risk when planted.
- Place segments, eyes facing up, on a shallow tray lined with damp (not dripping) paper towels or coconut coir.
- Cover loosely with plastic wrap or a clear lid to retain humidity—but poke 3–4 small ventilation holes.
- Keep in a warm spot (75–82°F) away from direct sun—top of refrigerator, near a water heater, or inside an insulated cabinet works well.
- Check daily: mist lightly if paper towel dries. Within 7–14 days, you’ll see pale pink or green nubs emerging from the eyes—these are true shoots, not fuzzy mold.
Avoid this mistake: Submerging rhizomes in water (a popular “ginger-in-a-glass” trend). Ginger is not aquatic. Prolonged submersion suffocates meristems, invites bacterial soft rot, and yields no viable roots—only slime.
Pot Selection, Soil Mix, and Planting Technique
Container choice directly impacts moisture management—a make-or-break factor.
Pot specifications:
- Material: Unglazed terracotta or fabric pots (e.g., Smart Pots) are ideal. They wick excess moisture and encourage healthy root aeration. Avoid plastic or glazed ceramic unless you’re highly experienced with precise watering.
- Depth vs. width: Ginger grows horizontally, not deeply. Choose a pot at least 12 inches wide and 10–12 inches deep. A 5-gallon bucket (with drainage holes drilled!) works perfectly. Shallow, wide containers outperform tall, narrow ones.
- Drainage: Non-negotiable. Drill 6–8 holes (¼ inch each) in the bottom—and add a 1-inch layer of pumice or coarse perlite beneath the soil to prevent clogging.
Soil mix formula (by volume):
- 40% high-quality potting mix (peat- or coco-coir based, not garden soil)
- 30% compost (well-aged, screened, pathogen-free)
- 20% perlite or pumice (for structure and drainage)
- 10% worm castings (for slow-release nutrients and microbial life)
Planting steps:
- Fill pot ⅔ full with moistened soil mix. Do not compact—fluff gently with fingers.
- Place pre-sprouted rhizomes horizontally, eyes facing up, 1–2 inches below surface.
- Cover lightly with 1 inch of soil—never bury deeper than 2 inches. Excess depth chokes emerging shoots.
- Water thoroughly until runoff appears at drainage holes—then stop. Let top ½ inch dry before next watering.
Light, Temperature, and Humidity: Recreating the Tropical Understory
Ginger evolved in the dappled shade of Southeast Asian rainforests—not open sun or arid interiors. Replicating this microclimate is essential.
Light: Bright, indirect light for 6–8 hours daily. An east-facing window is ideal. South-facing? Use a sheer curtain. West-facing? Position 3–5 feet back from the glass. Supplement with full-spectrum LED grow lights (2,700–3,500K, 20–30 watts) for 10–12 hours if natural light falls below 200 foot-candles (use a free light meter app to verify). Never place in direct midday sun—leaves scorch, stems weaken, and rhizomes bake.
Temperature: Consistent warmth is non-negotiable. Ideal range: 72–85°F daytime, no lower than 65°F at night. Below 60°F, growth halts. Below 50°F, rhizomes enter irreversible dormancy or rot. Keep away from drafty windows, AC vents, or unheated balconies—even in summer.
Humidity: Target 50–70% relative humidity. Most homes drop to 30–40% in winter. Boost it effectively with:
- A pebble tray filled with water (pot sits atop, not in, the water)
- Grouping ginger with other humidity-loving plants (e.g., calathea, ferns, peace lily)
- A cool-mist humidifier placed 3–4 feet away (avoid spraying leaves directly—promotes fungal issues)
Do not mist foliage daily. Wet leaves + poor air circulation = powdery mildew and bacterial leaf spot.
Watering, Feeding, and Seasonal Adjustments
Ginger’s greatest enemy is inconsistent moisture: drought stress stunts rhizome expansion; overwatering causes fatal rot. Master the rhythm:
- Spring/Summer (active growth): Water when top 1 inch of soil feels dry. Soak thoroughly until water drains freely. Frequency: every 2–4 days depending on pot size, light, and humidity.
- Fall (slowing growth): Reduce frequency by 30%. Allow top 1.5 inches to dry between waterings.
- Winter (dormancy or semi-dormancy): Water only when top 2–3 inches are dry—often once every 10–14 days. Never let the pot sit in water.
Feeding strategy: Ginger is a light-to-moderate feeder. Over-fertilizing burns roots and dilutes flavor. Use only organic, balanced liquid fertilizer (e.g., fish emulsion + seaweed blend, 2-3-2 NPK) diluted to half strength. Apply every 3–4 weeks during active growth (April–September). Stop feeding entirely in fall and winter. Skip synthetic fertilizers—they disrupt soil microbiology ginger relies on.
Signs of overwatering: yellowing lower leaves, mushy stem base, foul odor from soil. Immediate action: stop watering, tilt pot to drain, improve airflow, and consider repotting into fresh, drier mix if rot is suspected.
Harvesting: When, How, and How Much to Take
You have two harvest windows—each with distinct benefits:
- Baby ginger (6–8 months): Rhizomes are tender, pale yellow, nearly peelable, and mild in heat. Harvest selectively: gently loosen soil at edge of pot, expose part of the rhizome cluster, and snip off outer “fingers” with clean pruners. Leave the main mass and central buds intact. Re-cover with soil. This “cut-and-come-again” method allows continuous harvests without killing the plant.
- Mature ginger (10–12 months): Rhizomes are larger, tan-brown, fibrous, and spicier. For full harvest: tip pot sideways, cradle root ball, and ease entire plant out. Rinse soil gently under lukewarm water. Separate rhizomes, keeping at least one 1–2 inch segment with 1–2 eyes for replanting. Cure harvested rhizomes by air-drying in shade for 2–3 days before storing in a cool, dark, dry place (up to 3 weeks) or freezing grated.
Never harvest more than ⅓ of the rhizome mass at once during active growth. Never dig deeply with tools—ginger roots are shallow and easily severed.
Common Problems—and Proven Fixes
Problem: No sprouting after 4 weeks
Cause: Treated ginger, insufficient warmth, or overly dry/cold environment.
Fix: Discard and restart with verified organic rhizome. Move to warmer location (use a seedling heat mat set to 78°F under the pot if needed). Confirm soil stays evenly moist—not wet—during germination.
Problem: Yellow, drooping leaves
Cause: Usually overwatering or poor drainage—not nutrient deficiency.
Fix: Stop watering. Check drainage holes. If soil is waterlogged, gently remove plant, trim rotten roots (dark, slimy), dust cuts with cinnamon (natural antifungal), and repot into fresh, gritty mix.
Problem: Brown leaf tips or edges
Cause: Low humidity, fluoride/chlorine in tap water, or salt buildup from fertilizer.
Fix: Switch to filtered, rain, or distilled water. Leach soil monthly: pour 2–3 times the pot volume of water slowly through soil to flush salts. Increase humidity.
Problem: Leggy, weak stems with sparse leaves
Cause: Insufficient light.
Fix: Relocate to brighter spot or add supplemental lighting. Rotate pot weekly for even growth.
Advanced Tips for Long-Term Success
Repotting: Ginger benefits from annual repotting in early spring—even if not root-bound. This refreshes nutrients, resets soil structure, and lets you inspect rhizomes for pests or rot. Use same soil recipe; increase pot size only if roots fill >80% of current container.
Pest vigilance: Indoor ginger rarely suffers pests—but spider mites and scale occasionally appear in dry, warm conditions. Treat early: blast with strong water spray, then apply neem oil spray (0.5% concentration) weekly for 3 weeks. Avoid systemic insecticides—they accumulate in rhizomes.
Winter care nuance: In northern homes with heated air, ginger may never fully go dormant. Watch for slowed leaf production and reduced water uptake—this signals natural slowdown. Don’t force rest; instead, respect its rhythm. Resume feeding only when new shoots visibly emerge in spring.
Propagation beyond division: Once established, ginger produces aerial stem nodes. In late summer, carefully peg down a healthy, leafy stem onto moist sphagnum moss in a small pot beside the main plant. Keep moss damp and covered. In 4–6 weeks, roots form—snip and transplant. This preserves the parent plant while expanding your stock.
Frequently Asked Questions
Can I grow ginger from store-bought ginger that’s already sprouted?
Yes—if it’s organic and the sprouts are firm, green-white, and ½ inch or longer. Trim off any discolored or soft tissue before planting. Avoid sprouts that are yellow, brittle, or emit sour odors.
How often should I water ginger in winter?
Once every 10–14 days is typical—but always check soil moisture first. Insert your finger 2 inches deep. If dry, water thoroughly. If damp, wait. Never follow a calendar schedule.
Why are my ginger leaves turning brown and crispy?
This almost always indicates low humidity combined with dry heat or chlorine in tap water. Increase ambient moisture, switch to filtered water, and avoid placing near heating vents or radiators.
Can I grow ginger in water like a hydroponic herb?
No. Ginger rhizomes lack the aeration adaptations of true aquatic plants. Water-only setups lead to rapid rot and failure. Always use a well-draining soil-based medium.
Does ginger need fertilizer to grow well indoors?
It needs nutrients—but not constant feeding. A light application of organic liquid fertilizer every 3–4 weeks during active growth (spring/summer) is sufficient. Overfeeding reduces rhizome quality and increases disease susceptibility.
Growing ginger indoors isn’t about replicating a farm—it’s about cultivating a resilient, sensory-rich relationship with a single, powerful plant. You’re not just producing spice; you’re stewarding a centuries-old botanical ally, attuned to your home’s rhythms. Each new shoot confirms your attention. Each harvested rhizome carries the quiet reward of patience made tangible. With the right rhizome, the right pot, and the right rhythm, your kitchen counter, sunny windowsill, or balcony planter becomes a year-round ginger grove—no backyard required. Start small. Observe closely. Adjust gently. And taste the difference only homegrown ginger delivers: vibrant, alive, and unmistakably yours.
The science is sound. The practice is accessible. The harvest is real.
Now—go find that organic ginger root. Your indoor ginger journey begins with one eye, one pot, and one intentional act of care.




 浙公网安备
33010002000092号
 浙B2-20120091-4