
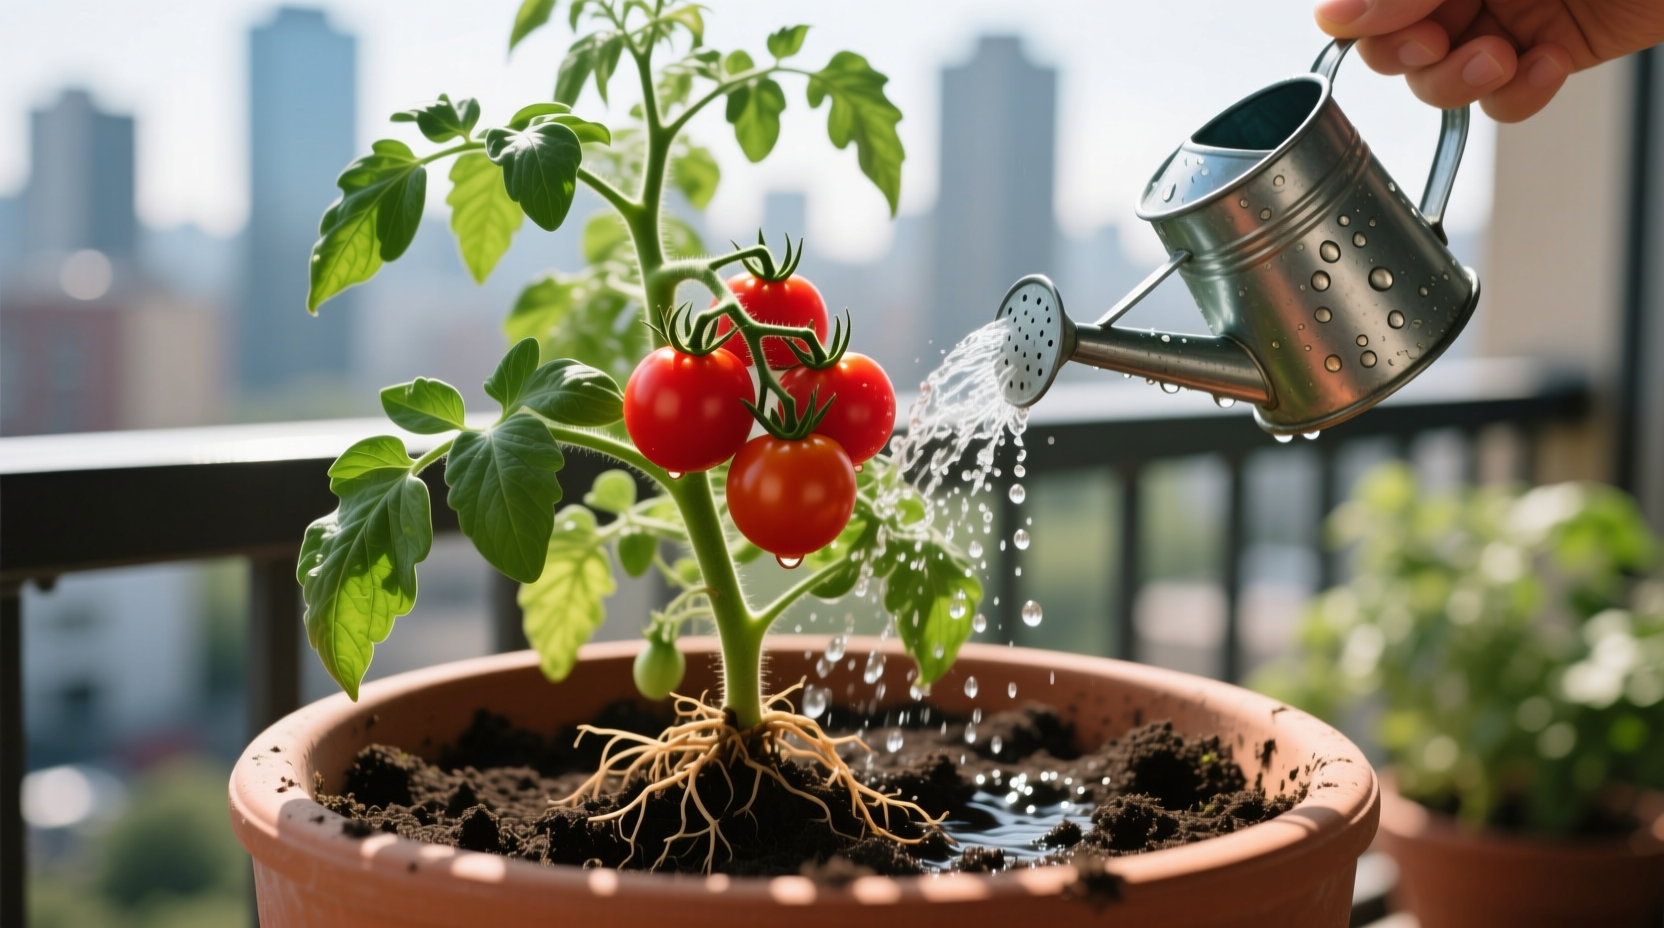
Why “How Much to Water Tomatoes in Pots” Is Fundamentally Different Than Garden Tomatoes
Growing tomatoes in containers introduces three non-negotiable constraints that garden beds don’t impose: limited root volume, accelerated evaporation, and zero soil buffering capacity. A 5-gallon pot holds roughly 0.66 cubic feet of growing medium—less than 2% of the root zone volume of a single in-ground tomato plant. That means every ounce of water matters—and every misstep compounds rapidly. In raised beds or open ground, soil acts like a sponge with deep capillary reserves; in pots, it’s more like a teacup sitting in sunlight. Evaporation rates increase up to 40% in elevated, unshaded locations (e.g., south-facing balconies), and wind exposure further accelerates moisture loss. Worse, container soils lack microbial and mineral buffers—so pH shifts, salt buildup, and oxygen depletion occur faster. That’s why blanket advice like “water every morning” or “give one cup daily” fails catastrophically. Your tomato plant doesn’t care about your calendar—it responds to real-time soil physics and transpiration demand.
The 3 Non-Negotiable Principles of Container Tomato Watering
Forget schedules. Focus instead on these evidence-based principles, validated across USDA Zone 4–11 trials and replicated in university extension studies (e.g., Cornell Cooperative Extension 2021, UC Davis Tomato Production Handbook):
- Principle 1: Water Depth > Frequency — Deliver enough water to saturate the entire root zone (top to bottom), not just moisten the surface. Shallow watering encourages roots to stay near the top, making plants vulnerable to heat stress and drought shock.
- Principle 2: Soil Moisture Threshold Is Absolute — Never water unless the top 2–3 inches of potting mix feel dry *and* the soil below that feels *coolly damp*, not soggy or dusty. Use your finger—not a moisture meter—as your primary tool for the first two weeks to calibrate your tactile sense.
- Principle 3: Drainage Is Not Optional—It’s Biological Necessity — If water doesn’t exit the pot within 5–10 seconds of pouring, your medium is compacted, your pot lacks sufficient holes, or both. Stagnant water = anaerobic conditions = pythium root rot within 48 hours.
How to Measure “How Much” Without Guesswork: Tools, Techniques & Thresholds
“How much to water tomatoes in pots” becomes precise once you shift from volume (cups, liters) to outcome (moisture profile). Here’s how to do it right:
Finger Test: The Gold Standard for Daily Assessment
Insert your index finger vertically into the potting mix up to the second knuckle (about 2 inches). Do this in 3 locations: near the rim, halfway to the center, and directly over the root ball if visible. If all three feel dry at that depth, it’s time to water. If any spot feels damp or cool, wait 6–12 hours and recheck. This works because human fingertips detect moisture gradients far more accurately than most $20–$40 digital meters—especially in peat- or coir-based mixes where electrical conductivity readings drift unpredictably.
Weight Method: For Consistency Across Multiple Pots
Weigh an empty, dry pot with its saucer. Then weigh it again after thorough watering and full drainage (let excess drip for 15 minutes). Note that “saturated weight.” Each day before watering, weigh again. When the pot weighs 25–30% less than saturated weight, it’s time to water. Example: A 5-gallon pot + mix + plant weighs 18.2 lbs when fully drained post-watering. At 13.5 lbs, it’s ready for irrigation. This method eliminates subjectivity and is especially valuable for commercial balcony growers managing 20+ containers.
Moisture Meters: When & How to Use Them Correctly
If using a probe-style meter, insert it slowly to 3 inches—do not force it. Wait 60 seconds before reading. Ignore the top ½ inch; focus on the 1.5–3 inch zone. Calibrate weekly by testing in distilled water (should read ~0) and in a saturated paper towel (should read ~100%). Discard meters that fluctuate more than ±5 points between identical insertions. Avoid cheap “3-in-1” units that combine light/pH/moisture—they sacrifice accuracy for convenience. Trusted models include the XLUX T10 (for consistency) and the Dr. Meter Soil Moisture Tester (for durability).
Weather, Pot Size & Plant Stage: Adjusting Your Watering Protocol
Water needs aren’t static. They pivot on three dynamic variables—each demanding specific recalibration:
Temperature & Humidity Impact
In temperatures above 85°F (29°C), evapotranspiration increases exponentially. At 95°F with low humidity (<40%), a healthy indeterminate cherry tomato in a 7-gallon pot may require 2.5 quarts (2.4 L) of water daily—split into two applications (early morning and late afternoon) to prevent midday leaf scorch. Below 65°F (18°C), reduce frequency by 50% and volume by 30%. Always check soil—not air temperature—before watering. A shaded, humid balcony at 88°F may need less water than a sun-baked patio at 78°F.
Pot Size & Material Matter More Than You Think
Smaller pots desiccate faster. A 3-gallon pot loses usable moisture 2.3× faster than a 10-gallon pot under identical conditions (Rutgers NJAES 2020 container trial). Material affects thermal mass and breathability: unglazed terra cotta wicks moisture outward, requiring 15–20% more frequent watering than plastic or fabric pots. Glazed ceramic retains moisture longest—but risks salt accumulation at the rim. Fabric “grow bags” offer superior aeration and self-pruning roots, yet dry out 10–15% faster than rigid containers. Match pot size to variety: determinate types thrive in 5–7 gallon pots; indeterminates need minimum 10 gallons (12+ recommended).
Plant Growth Stage Dictates Critical Windows
Seedling stage (0–3 weeks post-transplant): Keep medium evenly moist—not wet—for consistent germination and root establishment. Water every 1–2 days with gentle mist or bottom-watering.
Vegging stage (week 4–6): Allow top 1 inch to dry between waterings. Encourage downward root growth by letting the 2-inch threshold trigger irrigation.
Flowering & fruit set (week 7 onward): Maintain consistent moisture at 2–4 inch depth. Fluctuations here cause blossom drop and calcium transport failure—leading directly to blossom end rot. Never let soil go beyond “slightly damp” at 4 inches during fruit development.
Ripening stage: Slightly reduce volume (by ~15%) to concentrate sugars—but never allow cracking-level stress. Cracked fruit signals abrupt rehydration after drought.
Common Watering Mistakes—And Why They Damage Your Crop
Even experienced growers repeat these errors—often because they sound logical but violate plant biology:
- Mistake: Watering on a fixed schedule (e.g., “every morning at 7 a.m.”) — Plants don’t keep office hours. Morning watering is ideal *only if soil is dry*. Doing it daily—even when unnecessary—drowns roots, leaches nutrients, and invites fungal pathogens like phytophthora.
- Mistake: Using sprinklers or overhead spray — Wet foliage + warm temps = early blight, septoria leaf spot, and anthracnose. These spread via splashing water. Always water at the base—use a watering can with a long spout, drip emitters, or soaker hoses snaked through mulch.
- Mistake: Ignoring runoff and saucer habits — Letting pots sit in standing water for >30 minutes suffocates roots. Empty saucers religiously after each watering. Better yet: elevate pots on pot feet or bricks to ensure continuous airflow beneath drainage holes.
- Mistake: Assuming mulch replaces watering — Mulch (straw, shredded bark, or cocoa hulls) reduces evaporation by 25–40%, but does *not* eliminate need for irrigation. It delays drying—it doesn’t create water. Replenish mulch to 2 inches depth monthly; fluff it weekly to prevent crusting.
Optimizing Your Potting Mix for Water Retention & Drainage
You cannot fix poor watering with better technique alone—if your medium sabotages you. Ideal tomato potting mix must hold moisture *without* staying soggy. Avoid native garden soil (too dense) and bargain-bin “potting soil” (often peat-heavy with no structure). Instead, use or build a blend with these ratios:
- 40% high-quality compost (screened, mature, pathogen-free)
- 30% coconut coir (retains water longer than peat, pH-neutral, renewable)
- 20% perlite (for aeration—never substitute vermiculite, which holds too much water)
- 10% worm castings (slow-release nutrients + beneficial microbes)
Add 1 tablespoon of gypsum per gallon of mix to supply calcium and prevent blossom end rot—especially critical in container systems where calcium doesn’t naturally leach from subsoil. Refresh 30% of the top 4 inches of mix every 4–6 weeks during peak season to replenish organic matter and microbial life.
Signs Your Tomato Is Getting Too Much—or Too Little—Water
Symptoms are rarely ambiguous if you know what to observe:
| Symptom | Overwatering Cause | Underwatering Cause |
|---|---|---|
| Yellowing lower leaves, mushy stems | Root rot cutting off nutrient uptake | Rare—usually accompanied by crispy edges and upward leaf curl |
| Upward leaf curl (cupping), thickened texture | Chronic overwatering disrupting auxin flow | Acute drought stress triggering osmotic adjustment |
| Blossom end rot (black, leathery bottom of fruit) | Calcium transport failure due to inconsistent moisture | Same—fluctuation is the true culprit, not calcium deficiency |
| Fruit cracking (radial splits) | Rare—usually follows heavy rain after drought | Direct result of rapid rehydration after prolonged dryness |
| Soil pulling away from pot sides | Not applicable | Severe desiccation—re-wet slowly over 2–3 days to avoid hydrophobic rebound |
Advanced Tactics: Drip Irrigation, Self-Watering Pots & Wicking Systems
For reliability across vacations or busy seasons, consider engineered solutions—but only with caveats:
- Drip irrigation: Use pressure-compensating emitters (1–2 GPH) placed at the base of each plant. Run 15–25 minutes daily in summer, adjusted by soil probe data. Install a timer with battery backup and rain sensor. Clean emitters monthly with vinegar soak to prevent clogging.
- Self-watering pots (SWPs): Effective *only* if you monitor reservoir levels daily and refill before it empties completely. Letting the reservoir run dry creates a “moisture cliff”—roots dry out faster than in standard pots. Never use SWPs for seedlings or in winter.
- Wicking systems: Reliable for small-scale setups. Use ¼-inch cotton rope (not synthetic) buried 4 inches into soil and dangling into a water reservoir. Replace ropes every 3 weeks—algae and mineral buildup impede capillary action.
FAQ: Your Top Questions About Watering Tomatoes in Pots—Answered
How do I know if my tomato plant is getting enough water when I’m away for 5 days?
Before departure: water deeply until runoff, then move pots to shade (even partial), apply 2 inches of mulch, and place in a grouped cluster to reduce individual evaporation. Add a 1-gallon reservoir with wick system—or use a commercial olla buried beside the root zone. Do *not* rely on self-watering pots alone without verifying reservoir fill level pre-departure.
Can I use rainwater to water tomatoes in pots—and is it safer than tap water?
Yes—and it’s strongly preferred. Rainwater has near-neutral pH (5.6–6.2), zero chlorine, and dissolved oxygen that stimulates root respiration. Collect it in food-grade barrels; avoid roofs with asphalt shingles (leaches PAHs) or copper gutters (toxic to roots). If using tap water, let it sit uncovered for 24 hours to dissipate chlorine—but this does nothing for chloramine or fluoride, which require activated carbon filtration.
Why do my potted tomatoes flower but drop blossoms before setting fruit?
Blossom drop is most commonly caused by moisture stress—either excessive drying or sudden saturation—during the 3-day window after flowering. Night temperatures outside 55–75°F also disrupt pollination, but inconsistent watering remains the #1 controllable factor. Monitor soil at 3-inch depth twice daily during bloom; maintain “cool damp” consistency.
Should I water tomatoes in pots differently if I’m using fertilizer?
Absolutely. Liquid fertilizers (especially high-nitrogen types) increase osmotic pressure in the root zone. Always water thoroughly *before* applying feed—never to dry soil. After feeding, follow with a second light watering to flush salts away from roots. Reduce overall irrigation volume by 10% on feeding days to prevent leaching.
Do cherry tomatoes need less water than beefsteak varieties in containers?
No—variety type matters less than total leaf surface area and fruit load. A heavily laden ‘Sun Sugar’ cherry plant in a 7-gallon pot may transpire more water daily than a sparse ‘Brandywine’ in a 10-gallon pot. Focus on canopy density and soil moisture—not label claims. Indeterminate types (most cherries) generally sustain higher transpiration rates than determinates—but only when actively fruiting.
Final Thought: Watering Is Root Zone Management—Not Just Hydration
When you ask “how much to water tomatoes in pots,” you’re really asking, “How do I steward the microclimate where roots live?” That environment demands stability—not abundance. It thrives on rhythm, not routine; observation, not assumption; and physics, not folklore. Start tomorrow with the finger test. Weigh one pot. Watch how mulch changes evaporation. Track one plant’s response to a 90°F day versus a 68°F day. In four weeks, you won’t be guessing how much to water tomatoes in pots—you’ll be reading their soil like a text. And your harvest will reflect that fluency: deeper red, firmer flesh, richer flavor, and zero blossom end rot. That’s not gardening luck. It’s horticultural literacy—and it begins, always, 2 inches down.
Remember: Healthy tomato roots breathe as much as they drink. Every drop you give should serve both functions—or neither.




 浙公网安备
33010002000092号
 浙B2-20120091-4